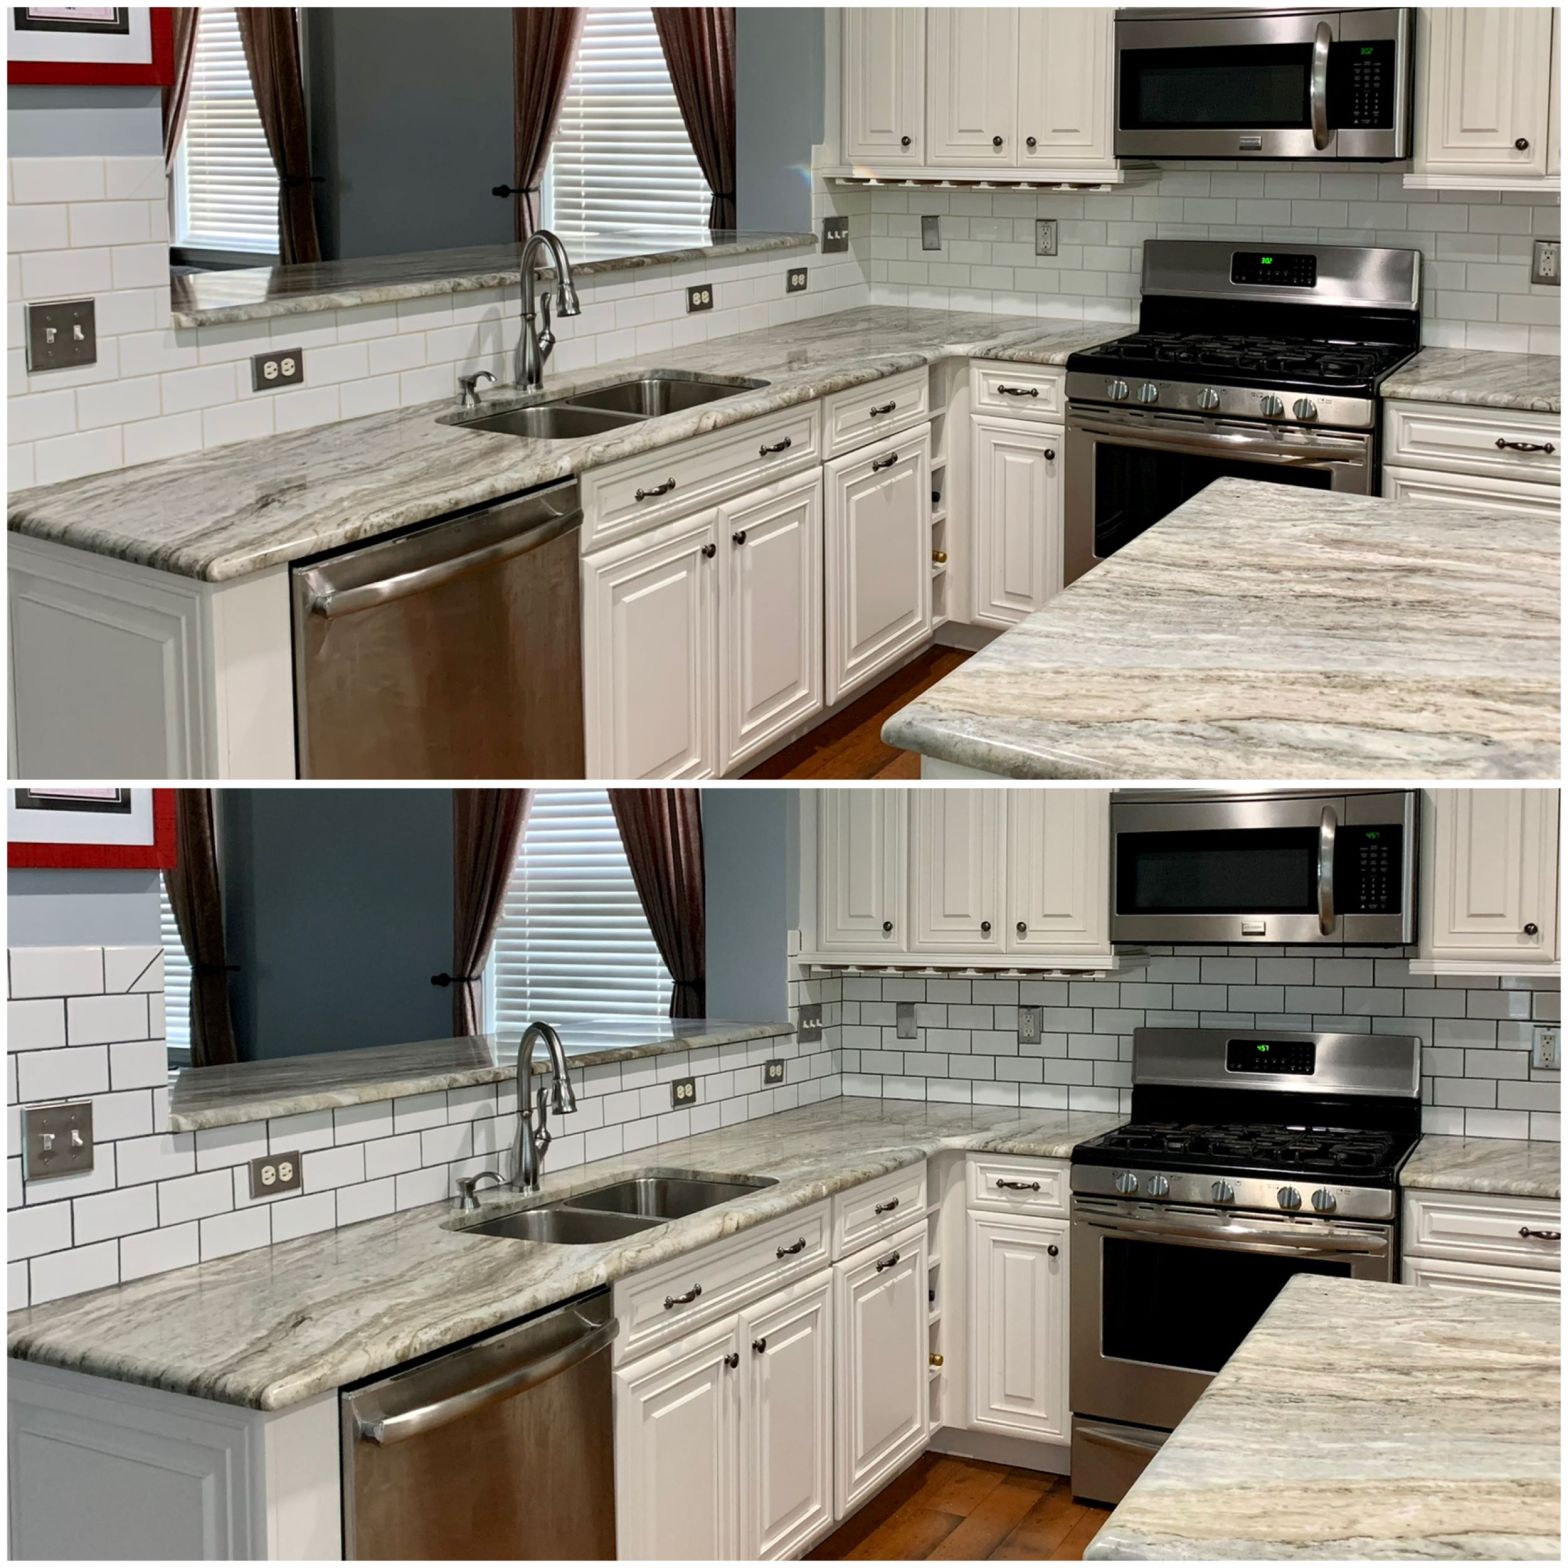
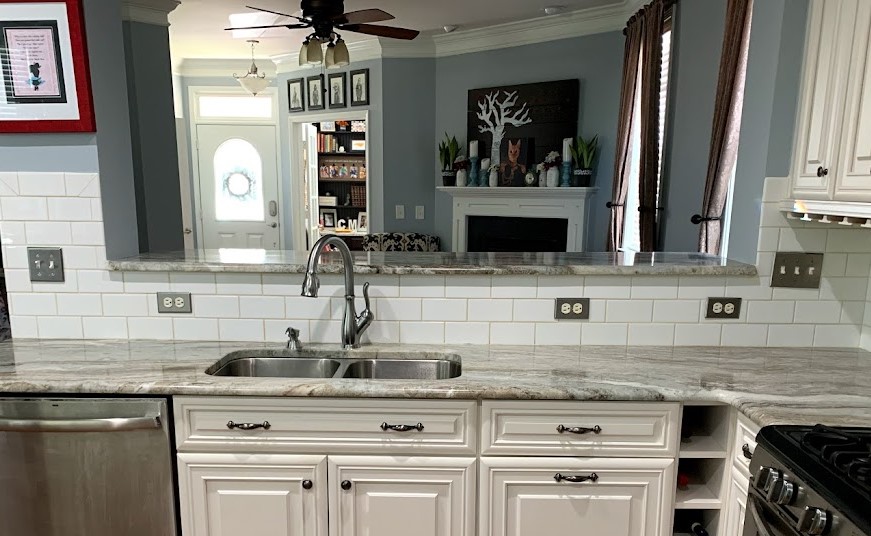
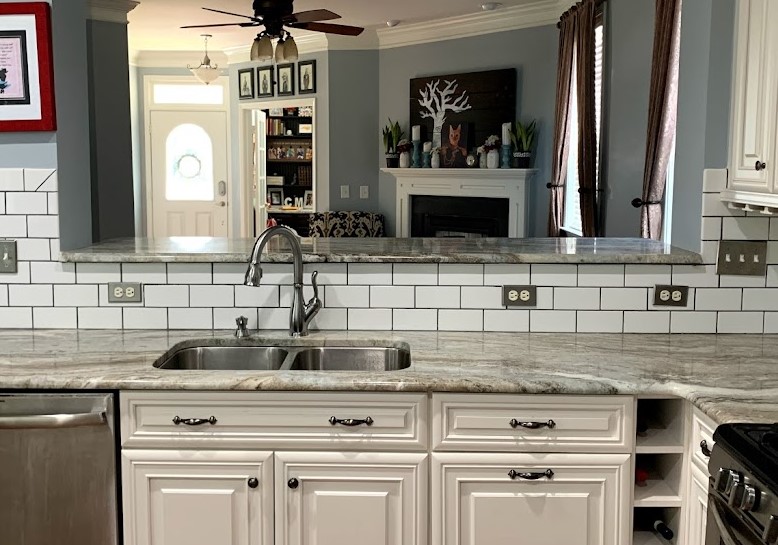
When Craig and I first moved in to our house, the backsplash installed in the kitchen had white subway tile with gray grout. I absolutely loved the contrast but Craig thought it looked “trendy”. We ended up remodeling our kitchen to include new cabinetry, countertops, and new tile for the backsplash. We went back with white subway tile but with white grout this time (I had to let him have one thing :)). Over the years, the grout started to look dingy and dirty, especially against the stark white ceramic tile. We weren’t crazy about changing the backsplash again but wanted a way to update the overall look. That’s when I discovered these grout pens on Amazon. A friend of mine posted photos on Instagram where she used them on her backsplash and she was pleased with the results. I’ll include the steps to this super easy process below.
- Remove ALL receptacle covers. Don’t be lazy! Some of the grout lines pass behind the plate covers so to get a completely finished look, it’s always best to do it the correct way. I also wiped down the ceramic tile along with all the grout with a wet paper towel and let dry.

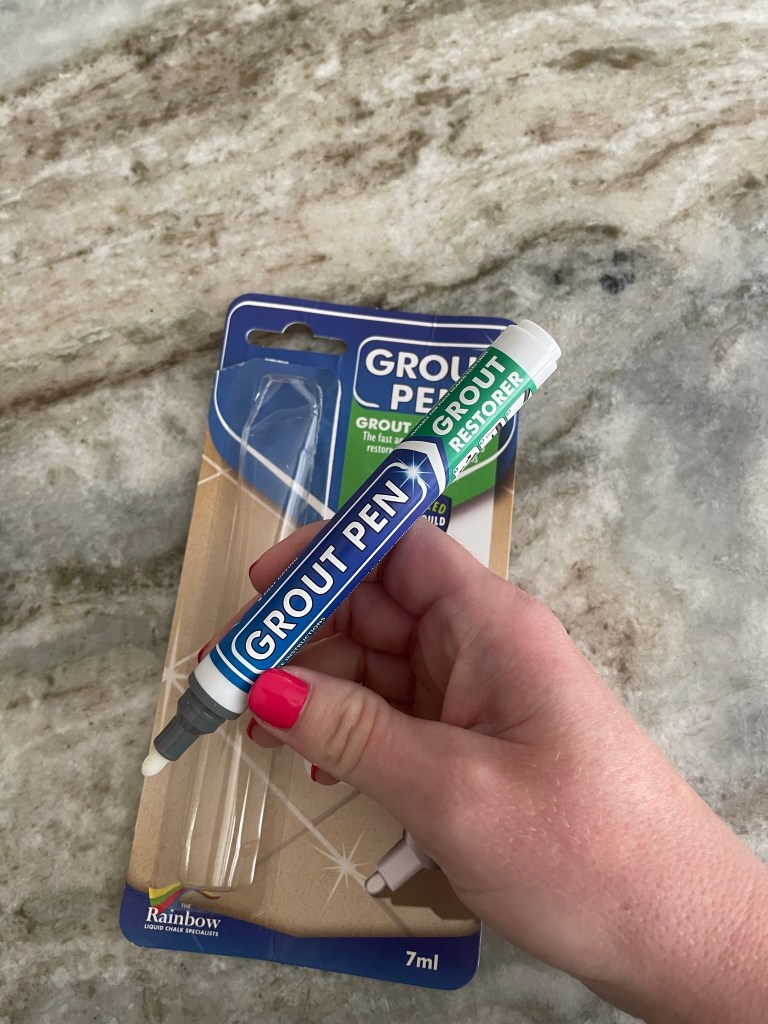
2. Prime the Grout pen. To activate the paint within the pen, remove the cap and gently pump the dry white tip about 20-30 times until fully saturated. I used the package the pen came inside to catch the excess paint. You could also use a thick piece of paper or paper towels but be careful because it could bleed through. I also tested the ink flow on the same packaging to get a feel for how the paint will flow before applying it to the grout.
3. Color over Grout lines. Hold the pen at an angle to keep the ink flowing and apply steady pressure into the recessed grout line. I kept a dry cloth handy to wipe up the excess paint on the tile (it wipes up very easily). Avoid pressing too hard as it will damage the cotton tip of the pen. I recommend fully priming the pen and making multiple light passes until the paint starts to dry up. Then simply reprime by pumping the tip until the ink is flowing again and continue with more light passes. If the tip becomes too worn down or even falls out, don’t worry… it was designed to be removeable so you can turn the tip over and keep working. I found it was easiest to start at the bottom of the backsplash and work my way upward.
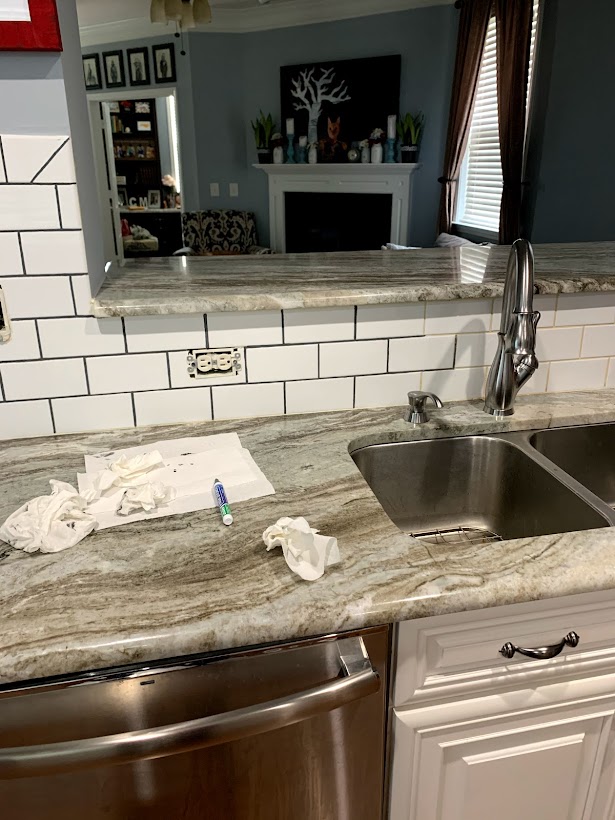
4. Wipe up any excess and let dry. If you’re anything like me and can’t draw a straight line to save your life, no fear – it wipes off the ceramic tile very easily with a damp cloth or paper towel. Please note- my ceramic tile has a glossy finish. I’m not sure how the paint would clean up on a matte ceramic or a natural stone tile. The grout dried within a few minutes; however, it’s recommended to wait at least six hours before getting it wet. I waited until the following day to put my receptacle covers back on.
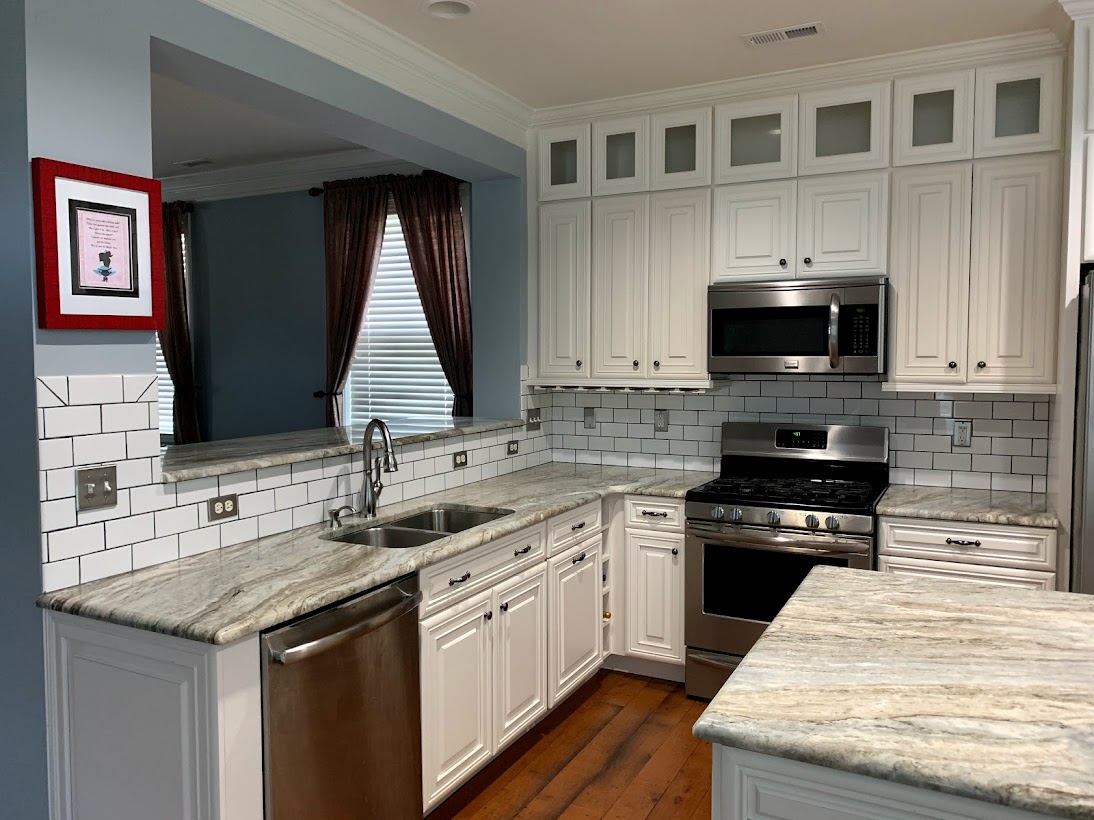
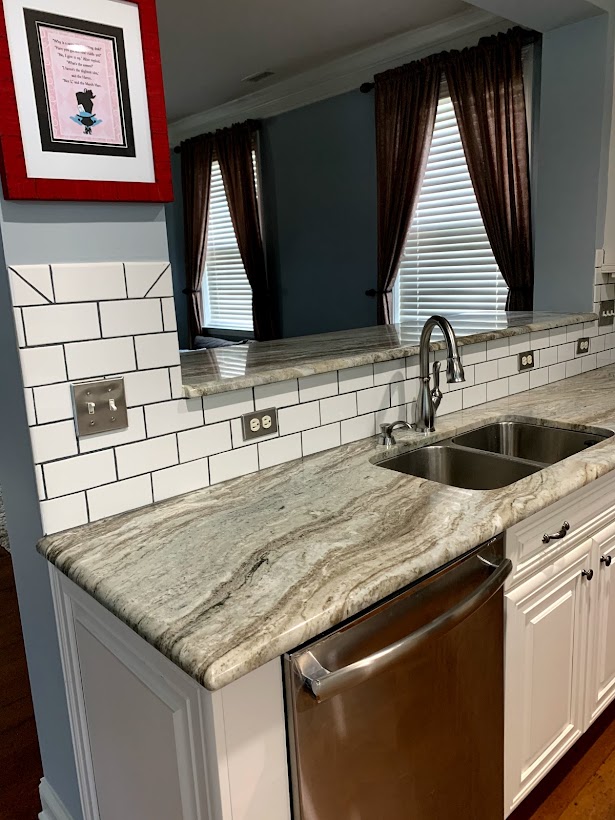
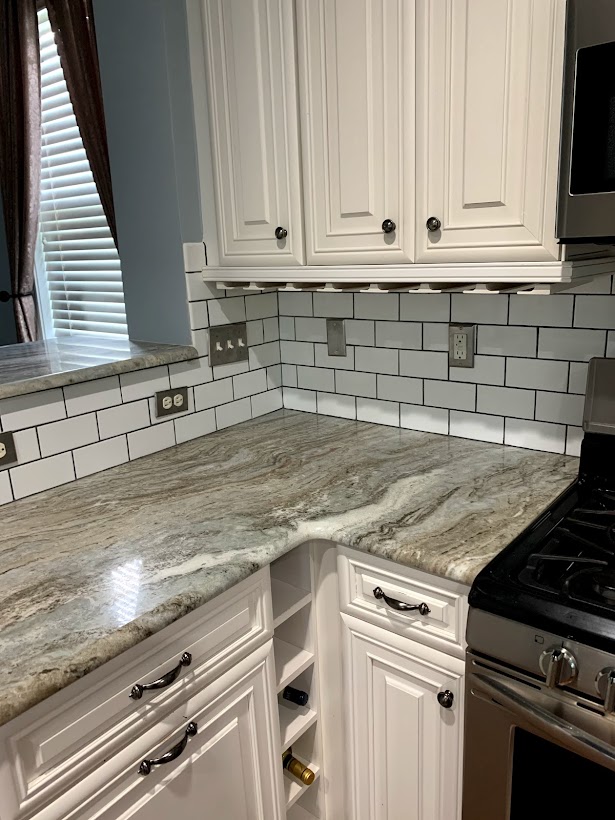
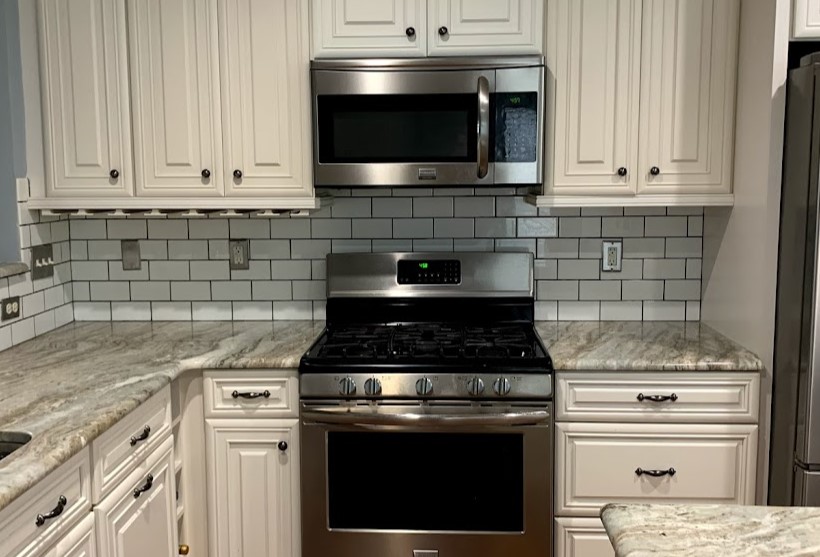
How did it turn out?
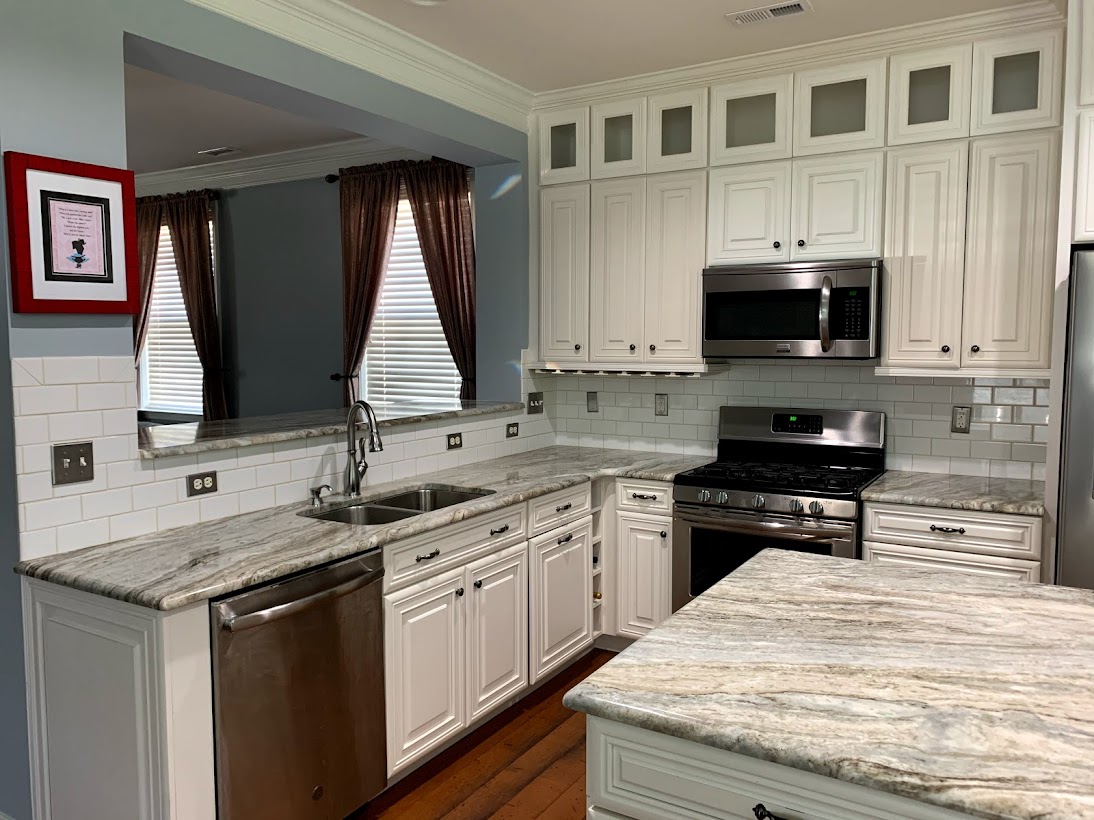
We love how it turned out! The grout no longer looks dingy against the white ceramic tile. I really love the contrast of the dark grout. Craig even loves it now, too! What do you think?!


Final Thoughts
Although these grout pens suited our needs, I wouldn’t say they offer a permanent solution for every situation. If we had older grout that required any repairs, grout that had been previously sealed, or a much larger space, I don’t think the outcome would have been as positive. If you’re looking for a flawless finish, I’d recommend contracting a professional for steam-cleaning or installing new grout. My kitchen is about 25 square feet of tile and I ended up using two pens (one more than the directions led me to believe so always order extra). I don’t think it would have been worth my time if the space was much larger and required more grout pens to achieve this new look.
The grout pen simply provided a quick fix to make our kitchen appear cleaner and more appealing, in my opinion. It’s been over a year since we updated the grout color and we’re still super happy. I only had to touch up the grout lines around the sink where water has started to fade the gray paint. Overall, this was an easy and rewarding D.I.Y. project that didn’t cost us much and added some extra value to our kitchen.
